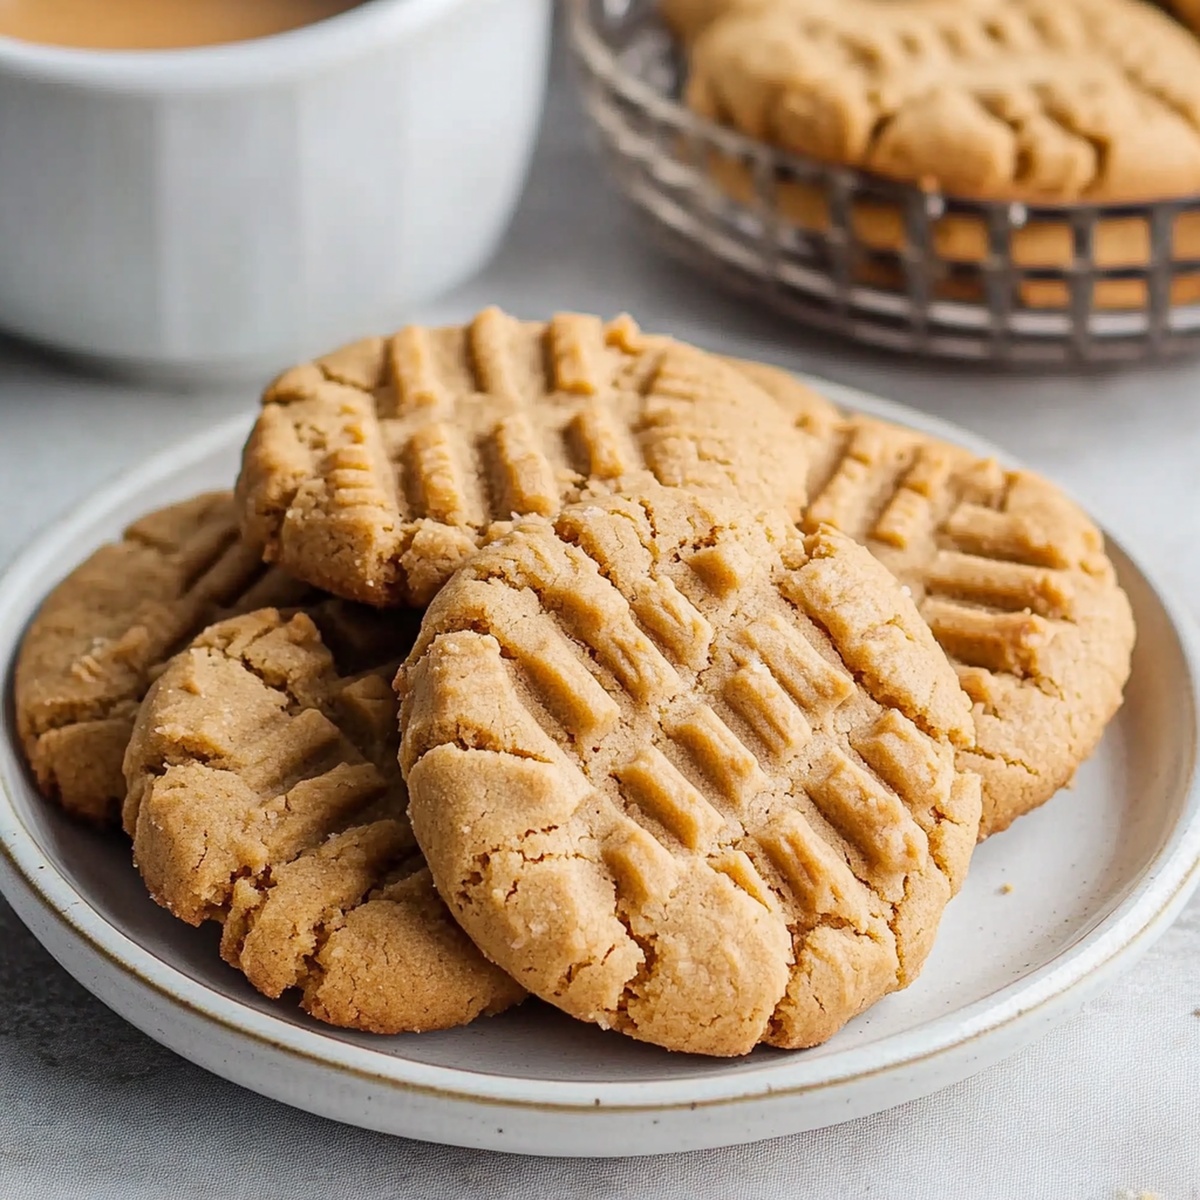
Crunchy Delight: Homemade Crispy Peanut Butter Cookies Recipe
Soft, buttery cookies with a satisfying crunch of peanut butter crackle through every delectable bite.
The classic treat brings warmth and comfort to your kitchen.
Home bakers adore these simple yet irresistible morsels that melt in your mouth.
Each golden-edged cookie promises a nostalgic flavor that transports you back to childhood memories.
The aroma of freshly baked peanut butter cookies will draw everyone into the kitchen.
With just a few pantry staples, you can whip up this delightful dessert in no time.
Prepare to savor a recipe that turns ordinary ingredients into extraordinary moments of pure joy.
Quick Recipe Overview
Peanut Butter Cookie Pantry Picks
For Base And Binding:For Flavor And Texture:For Finishing And Decoration:Baking Tools for Peanut Butter Cookies
How to Make Peanut Butter Cookies Right
Get your kitchen ready by heating the oven to a toasty 375F and grab a baking sheet lined with parchment paper.
Grab a big mixing bowl and whip together soft butter, sugars, and peanut butter until the mixture looks light and dreamy.
Crack in an egg and blend until everything looks smooth and well-combined.
In another bowl, quickly whisk together flour, baking soda, baking powder, and a pinch of salt.
Slowly fold the dry ingredients into your peanut butter mixture, stirring until everything is perfectly blended.
Roll the dough into small round balls and place them on the baking sheet, leaving some space between each one.
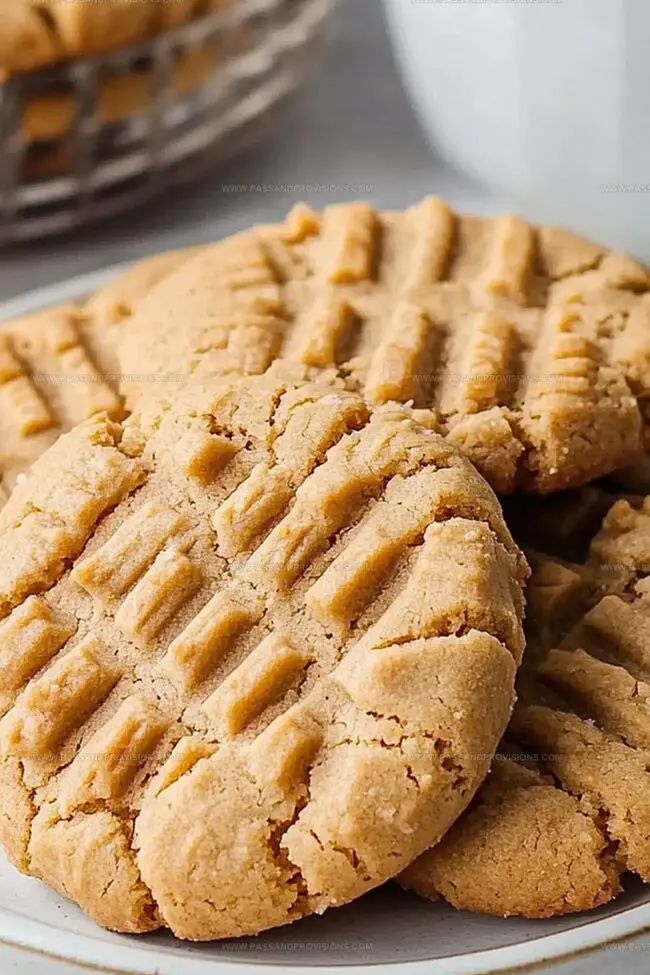
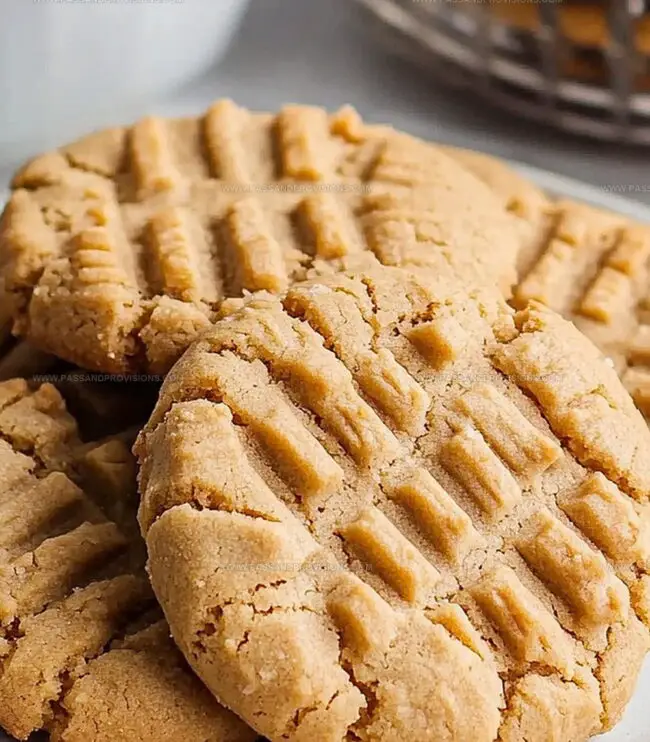
Use a fork to gently press down on each cookie, making those iconic crisscross marks.
Pop the cookies into the oven and bake for about 8-10 minutes until the edges turn a beautiful golden color.
Let the cookies rest on the baking sheet for a couple minutes, then transfer to a cooling rack until they’re ready to munch.
Tips for Better Peanut Butter Bites
Serving These Cookies Just Right
Keeping Peanut Butter Cookies Fresh
Print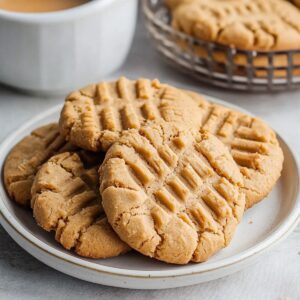
Crispy Peanut Butter Cookies Recipe
- Total Time: 20 minutes
- Yield: 13 1x
Description
Irresistible peanut butter cookies bring classic American comfort straight to your kitchen. Crisp edges, chewy centers, and rich nutty flavor promise pure delight that will satisfy sweet cravings with each delectable bite.
Ingredients
- ½ cup (113 g) creamy peanut butter
- 1 large egg
- ½ cup (100 g) granulated sugar
- ½ cup (110 g) packed brown sugar
- ½ cup (1 stick or 113 g) unsalted butter, softened
- 1 ¼ cups (156 g) all-purpose flour
- ¾ tsp baking soda
- ½ tsp baking powder
- ¼ tsp salt
Instructions
- Preparation: Warm the oven to 375F (190C) and layer a baking sheet with parchment paper for optimal cookie placement.
- Creaming: Whip butter, sugars, and peanut butter in a large mixing bowl until the mixture transforms into a silky, airy texture with no visible lumps.
- Incorporation: Introduce the egg and blend thoroughly, ensuring a uniform, smooth consistency throughout the mixture.
- Dry Ingredient Fusion: Sift flour, baking soda, baking powder, and salt together, creating a light, well-integrated dry component.
- Dough Formation: Gradually fold the dry ingredients into the peanut butter mixture, stirring until a cohesive dough emerges without overmixing.
- Shaping and Decorating: Craft uniform 1-inch spheres, positioning them strategically on the prepared sheet with ample spacing, then gently press a fork across each ball to create a distinctive crisscross pattern.
- Baking: Slide the tray into the preheated oven and bake for 8-10 minutes, watching for delicate golden edges that signal perfect doneness.
- Cooling: Allow cookies to rest briefly on the baking sheet, then transfer to a wire rack, permitting them to cool completely and achieve their ideal texture.
Notes
- Use softened butter at room temperature for smoother, more evenly mixed cookie dough that ensures a perfect texture.
- Choose creamy, no-stir peanut butter for consistent cookie texture and prevent separation during mixing.
- Press fork gently when creating crisscross pattern to avoid flattening cookies too thin, maintaining a soft, chewy center.
- Allow cookies to rest on baking sheet briefly before transferring to prevent breaking, as they’re delicate when first removed from oven.
- Prep Time: 10 minutes
- Cook Time: 10 minutes
- Category: Desserts, Snacks
- Method: Baking
- Cuisine: American
Nutrition
- Serving Size: 13
- Calories: 150
- Sugar: 8 g
- Sodium: 100 mg
- Fat: 7 g
- Saturated Fat: 3 g
- Unsaturated Fat: 4 g
- Trans Fat: 0 g
- Carbohydrates: 20 g
- Fiber: 1 g
- Protein: 3 g
- Cholesterol: 15 mg
William Hawkins
Founder & Culinary Director
Expertise
Education
Sullivan University, Louisville, KY
William Hawkins isn’t just a chef, he’s a storyteller through food. From his hometown of Louisville, KY, he’s spent years refining his craft, turning local ingredients into something extraordinary.
With classical training from Sullivan University and a career marked by innovation, mentorship, and Southern soul, William approaches every recipe with purpose. His kitchen is where old techniques meet fresh ideas, and where comfort food gets a thoughtful, modern twist.
When he’s not building dishes from the ground up, he’s out gathering inspiration from nature, markets, and the stories people share around the table.